This article will explain how to use plugins with options such as checkboxes and dropdown menus!
Start by adding the plugin element to the page. Next you can add your HTML to the template/slide, nav (optional), and wrapper. You can also add your CSS, JS, any files and anything else. I will create and demonstrate the code of a simple plugin below.
x
<div class="slide col-md-4 m-2 p-4 card"> <h2 class="title">{TITLE=text}</h2> <p class="desc">{DESC=textarea}</p> <h6 class="category">Status: {CATEGORY=text|single:Mock Up, Drawing, Development}</h6> <h6 class="employees">Employees Involved: {EMPLOYEES=text|multiple:Erica, Jason, Paul, Patrick}</h6></div>Notice on lines 4 and 5 there are different options.
{CATEGORY=text|single:Mock Up, Drawing, Development} - This line shows that there are multiple options to choose from but only one of them can be chosen.
{EMPLOYEES=text|multiple:Erica, Jason, Paul, Patrick} - This line shows that there are multiple options to choose from and it allows you to choose more than one.
x
<div id="-plugin-{UNIQUE_ID}" class="row"> {SLIDES}</div>

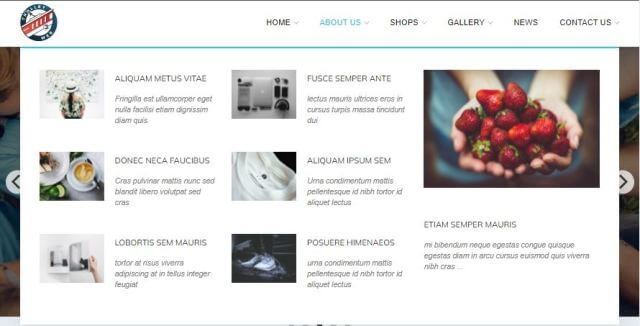
This article explains how to create and use the mega menu functionality in Leiout navigation menus.

This article explains how to install and use Google's translate javascript library and implement a b...

This help article explains the CSS mix-blend-mode property and how to incorporate it with hero image...