This article will explain how to use the horizontal Navik menu in Leiout. There are quite a few steps so make sure you do them all!
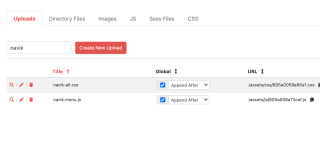
For the Navik menu to work, jQuery and Bootstrap are required, but are already included in Leiout. In the uploads folder, you need to upload the main Navik files, navik-all.css and navik.menu.js.

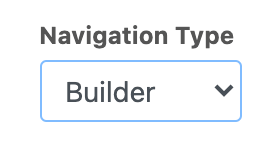
You also should upload the logo files and social SVG's. These should be named exactly as they are in the following HTML markup so that you don't have to change the markup. (logo-dark.png, logo-white.png, etc.) You can also use font awesome icons instead for the social media icons as shown below in the HTML markup. Finally, go to the super tab in the settings of the admin section of Leiout and change the navigation type to builder. Now go to the navigation tab and click the cog in your navigation menu and enter the following markup into the wrapper.

x
<!-- Header --><div class="navik-header navik header-transparentx header-shadow"> <div class="container"> <!-- Navik header --> <div class="navik-header-container"> <!--Logo--> <div class="logo" data-mobile-logo="/assets/logo/logo-white.png" data-sticky-logo="/assets/images/logo-sm.png"> <a href="/"><img src="/assets/logo/logo-dark.png" alt="logo"/></a> </div> <!-- Burger menu --> <div class="burger-menu"> <div class="line-menu line-half first-line"></div> <div class="line-menu"></div> <div class="line-menu line-half last-line"></div> </div> <!--Navigation menu--> <nav class="navik-menu menu-caret submenu-top-border submenu-scale"> <ul class=""> {-ITEMS-} <!-- Menu social media --> <li class="social"><div class="menu-social-media"> <a href="#" target="_blank" class="facebook"><i class="fab fa-facebook-f"></i></a> <a href="#" target="_blank" class="twitter"><i class="fab fa-twitter"></i></a> <a href="#" target="_blank" class="pinterest"><i class="fab fa-pinterest-p"></i></a> <a href="#" target="_blank" class="instagram"><i class="fab fa-instagram"></i></a> <a href="#" target="_blank" class="linkedin"><i class="fab fa-linkedin-in"></i></a> </div></li> </ul> </nav> </div> </div></div>Then, make sure the menu tab contains the following:
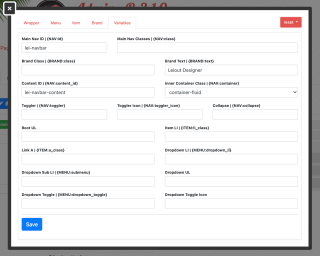
xxxxxxxxxx<li id="nav-{ID}" class="{CLASSES}" style="{STYLES}"{ATTRS}> <a href="#" class="">{LABEL}</a> <ul class="">{-ITEMS-}</ul></li>Next, go back to the navigation tab and click the cog and go to the variables tab. Make sure there is nothing written in any of the variables except for:
Main Nav ID | {NAV:id}, Content ID | {NAV:content_id}

Finally, you can style the menu how you'd like! Like Bootstrap, Navik has classes you can give to different elements to style them. Use the links below:
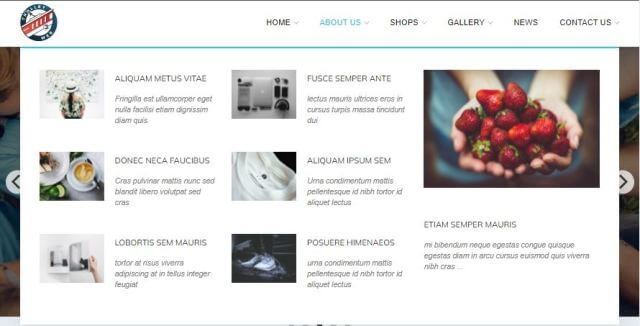
You can find an example of this Navik horizontal menu at this website!


This article explains how to create and use the mega menu functionality in Leiout navigation menus.

This article explains how to install and use Google's translate javascript library and implement a b...

This help article explains the CSS mix-blend-mode property and how to incorporate it with hero image...